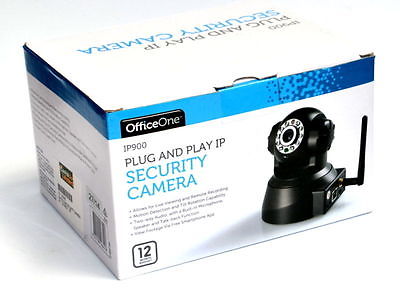
I spotted these Plug and Play IP Cameras (IP900) at K-Mart for $30 a pop, so decided to grab a few to see what they are like.
A quick look at the box reveals the following about the camera –
- Allows for Live Viewing and Remote Recording
- Motion Detection and Tilt Rotation Capability
- Two-way Audio, with a Built-in Microphone, Speaker, and Talk-back Function
- View Footage Via Free Smartphone App
- The Plug and Play IP Security Camera Aims to Reduce the Likelihood of Theft
- Live Viewing and Remote Recording is a Convenient Way to Protect your Property and Loved Ones
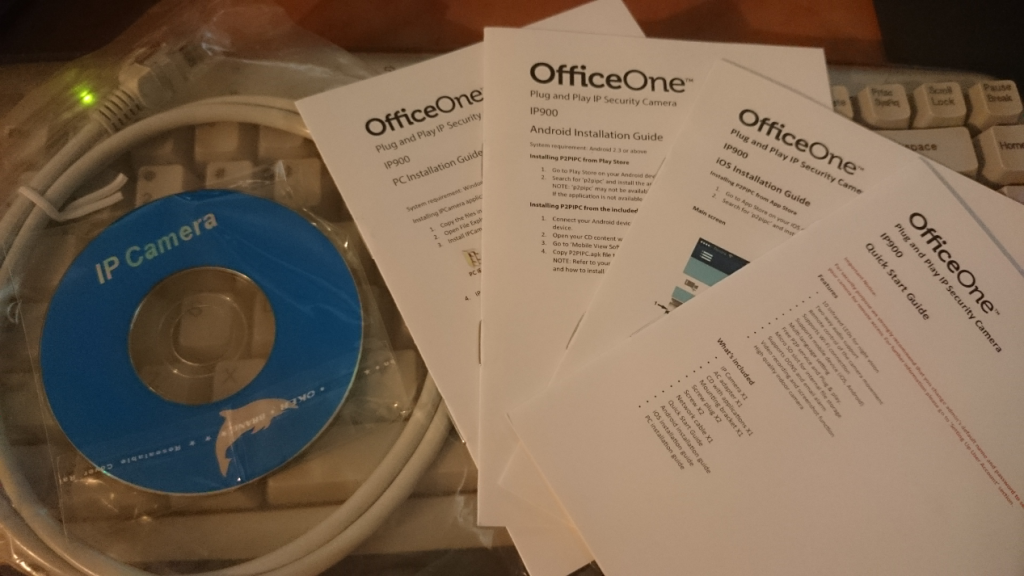
When I opened the box, I found –
- The Camera itself
- A 5V 2A power supply with 100CM cable
- A 90CM ethernet cable
- An application CD
- A mounting bracket with screws
- Instruction booklets
On first appearances, they look like FOSCAM FI8918W clones.
According to the Quick Start Booklet, the specifications of the camera are:
- CMOS sensor with a 3.6mm Lens
- 802.11 b/g/n WiFi
- 355′ Pan Angle
- 90′ Tilt Angle
- IR Distance of up to 10 metres
- MicroSD Card up to 32GB
Setup is very easy, just need to plug the power suppply into the camera and hook up the network cable from the camera to your router.
Once the camera has finished booting up, you can run the Search tool from the application CD to start setting up the camera.
When you start the Search Tool, it will scan your network for your cameras, and display them in the Cameras box.
As you can see, I currently have 3 cameras on my network. Clicking on one of them in the Cameras box will bring up the details in the Information box on the right.

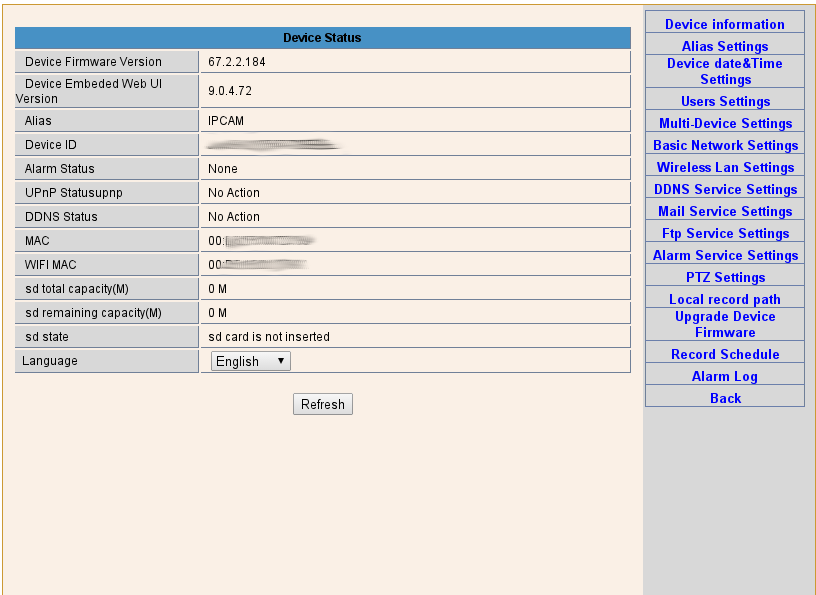
Clicking on Open on the bottom right will open up the web inteface for the Web Cam. The default username is admin with no password. After logging in, you will be presented with this page.
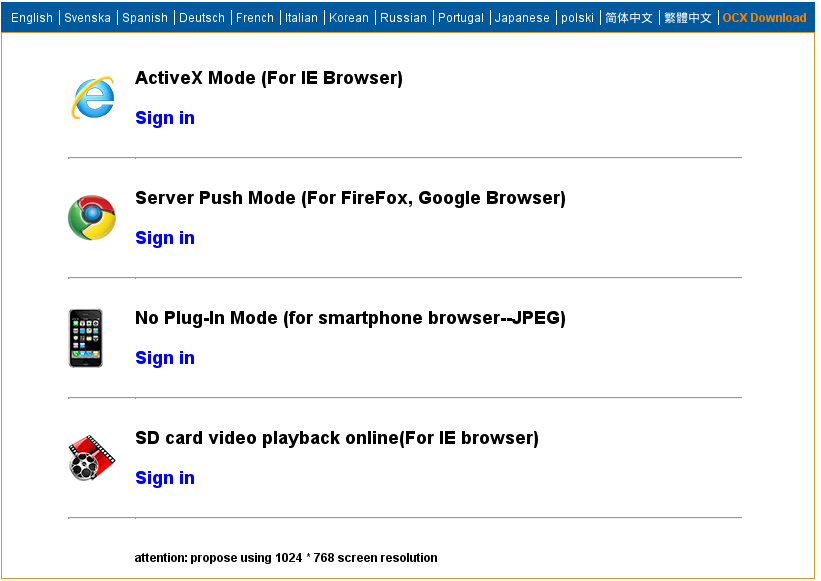
If you want to use the IE controls, you’ll need to install the oPlayer file from the Application CD.
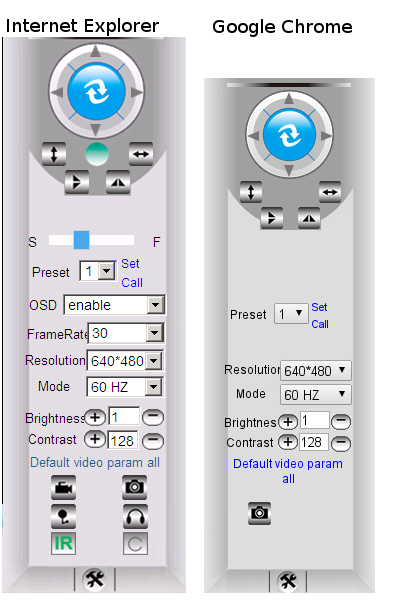
Compared to the “Server Push Mode” controls, The IE controls gives you a few more options to control the camera like Frame Rate (from 1-30 fps), Enabling/Disabling the OSD, and being able to take videos, pictures, control the IR LED and flashing green Signal Lamp on the front, and listen to what the camera is hearing. You can switch the resolution between 640×480 and 320×240 on this screen too.
Clicking on the “Tools” button on the bottom brings up the control panel on the web interface where you can set up the date and time, change the admin username and password (which you should do right away!), set up the WiFi capability and network settings of the Cam, as well as the email alerting, and motion detection settings.
All of these settings can also be managed from the PC IE View application on the Application CD.

Remote access is provided through a “cloud” provider – hence the need to change the username and password.
Once you’ve downloaded the Android app p2pipc, you can use it to search for cameras by tapping the “Tap here to add camera”, and then tapping “Search”. As long as you’re on the same network as the camera, the app will display the cameras that are on the network and allow you to add them to the app. Once the cameras are added to the app, you will be able to access the cameras as long as the camera can connect to the internet.
The quality of the snapshots are fairly clear in both day light and low light. You could easily make a face out from ~7 meters, which should be fine for an indoor camera.
Conclusion?
These cameras are great value for $30, allowing for eyes and ears while you’re away from the home. The resolution is only 640×480 but there’s still enough detail to make out faces in the event of something happening. You can take photos on the mobile app if need be, and can also do motion recording and set the camera up to email you if there’s any motion occurring in view of the camera. Recording to SD card is also supported, however I have not had the chance to try that out yet. If there’s enough interest in this post, perhaps I will blog my results with this camera.