In my last post, we set up ZeroTier as a basic mesh VPN, allowing access to any nodes that joined the network via their ZeroTier IP addresses. In this post, we will set be setting up ZeroTier to allow us to access our own network from the wider internet.
Step 1: Set up ZeroTier Server
We will start with a fresh configuration, but assume that ZeroTier is installed already. First step is to make sure we have all the software we need installed. We will be using iptables to do the routing, and we will want to make the rules persistent so we don’t need to set it up again if we reboot.
apt update
apt install iptables iptables-persistent
Next step is to create the ZeroTier network that we will use, and set an IP address for the node that is acting as the router between ZeroTier and your local network.
Again, I will be using zerotier-console to do a lot of my configuration as it makes it easier to set up ZeroTier via the CLI.
Start zerotier-console
./ztconsole.shAnd then follow the following menu items
1. Controller
2. Networks
3. Create Network
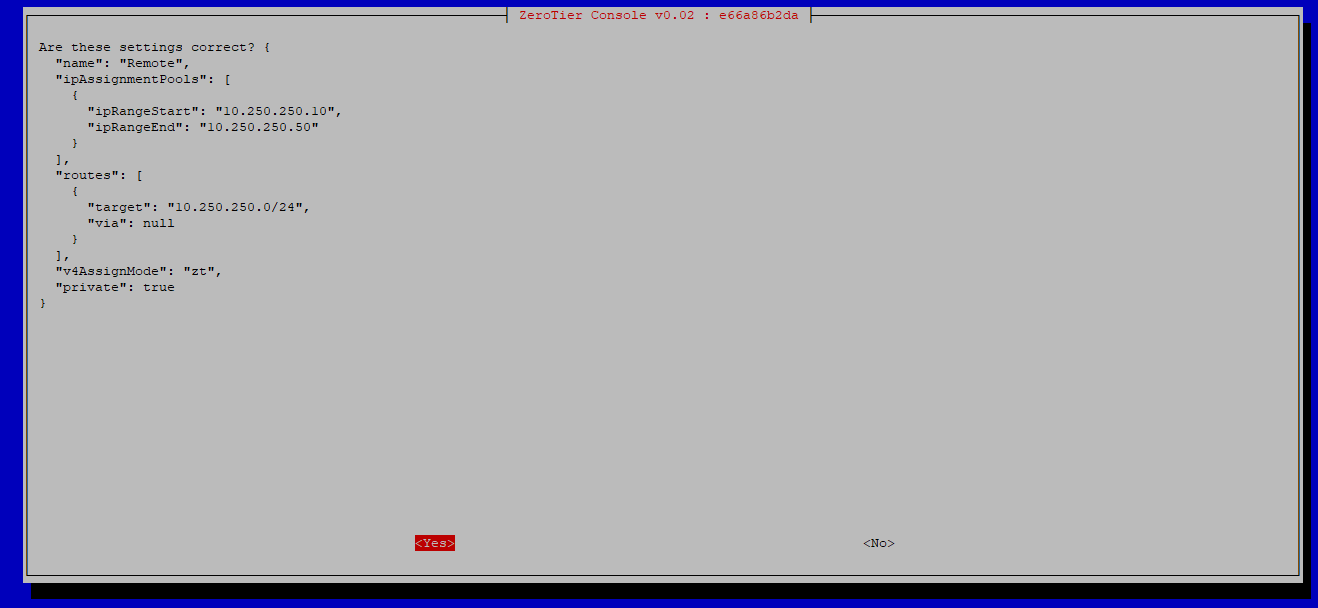
4. Select Yes to configure the network nowGo through the wizard to set the name of the network, set a start and end IP address, and subnet mask for the ZeroTier network. I normally reserve the first few IP addresses of the network for the router and other static functions, so my normal configuration will have the starting IP address as 10.
After the network is created, you will need to join the node to the network, same as the last blog post. As a reminder, the menu items are below:
Main Menu => Client => Join => List local controller networks to join => [Your Network]And then authorise the node:
Main Menu => Controller => Networks =>List Networks => [Your Network] => List Network Members => [Your Node] => Auth Member
Step 2: Setting Up The Network
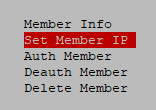
This bit is optional, but I like to set the IP of the router node to xxx.xxx.xx.1 so that it’s obvious that it’s the router. That can be done via zerotier-console again by using the “Set Member IP” menu item after you have authorised the node.
If you have not changed the IP then make sure you use the correct IP below.
Next is to set up the route for the ZeroTier network so that the nodes on ZeroTier know where to go to access your local network.
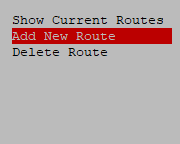
In zerotier-console, from the Main Menu, we can configure the routes for this network with the following menu options
Controller => Networks => List Networks => [Your Network] => Configure Network => Manage Routes
Here, we will add a new route to direct network traffic from ZeroTier to your local network.
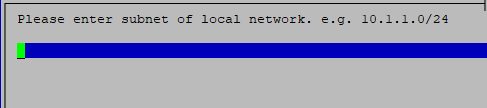
When you add the new route, enter in the subnet of your local network, e.g. 10.0.0.0/24
When it asks for the gateway, enter in the ZeroTier IP address of the router node, e.g. 10.250.250.1
Check the details, and if they are correct, confirm the route creation
Step 3: Setting Up The Routing
Onto the last bit now, we need to set up the node to actually do the routing. This can be done with a few simple commands. We will need the subnet of the ZeroTier network, as well as the network interface that is attached to our local network. The network interface can be found with a simple command.
ip a show to 10.0.0.0/24 # Replace the subnet with your own local subnetThe above command will return the interface name, which you will need to use below. My server’s network interface is named ens18, so where you see ens18 is where you need to use your own server network interface. The following commands will turn your node into a masquerading linux router.
sysctl -w net.ipv4.ip_forward=1 && sysctl -p
iptables -t nat -A POSTROUTING -s 10.250.250.0/24 -o ens18 -j MASQUERADE # Replace as appropriate
iptables-save > /etc/iptables/rules.v4
And that’s it! Any nodes that now connect via your ZeroTier network will have access to resources on your local network.
Easy Mode:
Everything above can now be done in ZeroTier-Console automatically!
With 4 easy steps, you can now set up ZeroTier to be a remote access VPN

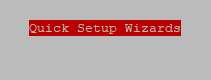

All you need to know is the subnet of your local network and ZeroTier-Console will do the rest for you!
