Continuing my series of blog posts on VPNs, now we’re going to be installing the ZeroTier self hosted controller! Again we’ll be installing it on Debian 11, but the instructions should work for Debian 12 as well.
ZeroTier is a (VPN) and software-defined networking (SDN) platform in one that enables connectivity between devices and networks across the internet. It creates a virtual overlay network that allows devices to communicate as if they were connected to a physical network (LAN), regardless of their actual location. ZeroTier has many possible configurations, so in this post, we’ll just be configuring ZeroTier to allow remote access to a single node (in this post, the node will be the server that I’m installing it on). In later posts, we will walk through setting up ZeroTier in other configurations.
Step 1 : Installing ZeroTier
First step is to always make sure your server is up to date with a quick apt update and apt dist-upgrade. We’ll also install some handy utilities that I like to make sure I have.
- nano – command line text editor, should be installed by default but I like to make sure
- iftop – command line bandwidth monitor, you can use this after this is all set up to see traffic destination/source and ports that they’re on
- git – command line git client – lets you download projects and their contents from github and other git repositories
I’ll be running all my commands as root, but if you don’t have root then you may need to prepend sudo to these commands.
apt update
apt dist-upgrade
apt install nano iftop git
After getting everything up to date, we can then move on to installing ZeroTier. There is a Handy-Dandy download script that ZeroTier provide that will do most of the hard work for us. We can get it and run it in one fell swoop with the following command
curl -s https://install.zerotier.com | bashAfter running the script, we can check to make sure ZeroTier has been installed
dpkg -l | grep zerotier-oneShould get a single line starting with ii – meaning that the package is installed

If you don’t get something like the screenshot above, then install ZeroTier with the following commands
apt update
apt install zerotier-one
After it’s installed, run the following commands to start, and then enable ZeroTier to run on startup
systemctl start zerotier-one.service
systemctl enable zerotier-one.service
Step 2 : Configure ZeroTier Network
Once ZeroTier is installed, we will need to create a network for our nodes to join. I’ll be joining an Android Phone to this network for the purposes of this blog post.
To create the network, I’ll be using the Handy-Dandy ZeroTier Console utility that I wrote. You can get this by running the following git command.
git clone https://github.com/SirLagz/zerotier-console.gitThat will grab the latest version of ZeroTier Console. After downloading it, change into the directory and make it executable, then run ZeroTier console.
cd zerotier-console
chmod +x ztconsole.sh
./ztconsole.sh
With ZeroTier Console, creating networks is as easy as a few menu selections!
Main Menu => Controller => Networks => Create Network
When we create the network, we’ll answer “Yes” to the quick setup so we can get going as quickly as possible.

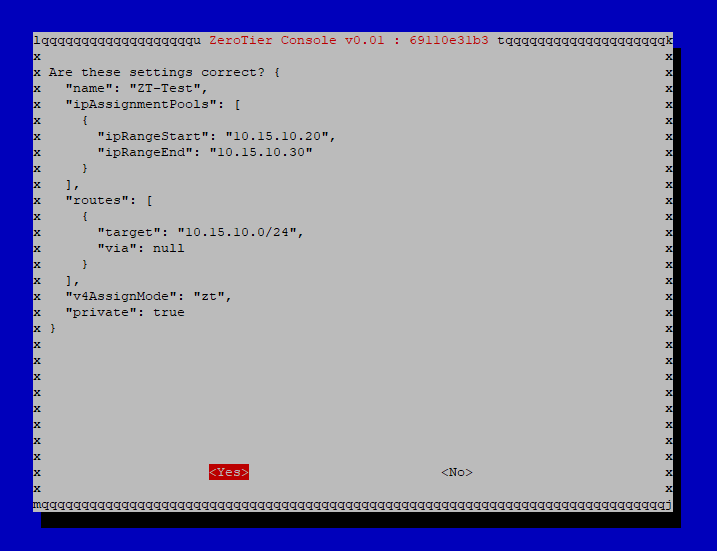
The quick set up will ask you for the network name, starting and ending addresses for the internal VPN range, and a subnet mask for the VPN range. At the moment they’re just text fields without any validation, but later releases of ZeroTier Console should have some user comforts like validation in there!
At the end, it should show you the settings you chose. If they’re correct, hit <Yes> and the network will be created.
Afterwards, we’ll need to join this server to the network, and also authorise it. Go back to the main menu in ZeroTier Console by going back a few times. Then on the main menu, we’ll join the network we just created.
Main Menu => Client => Join => List local controller networks to join => [Your Network]

After you get the 200 join OK message, we can now go and authorise our newly joined node. You can do this now, or after you join your other device to the network to save yourself the hassle of going through this menu twice!
Main Menu => Controller => Networks =>List Networks => [Your Network] => List Network Members
This menu will show you all members that have or are waiting to join your network.
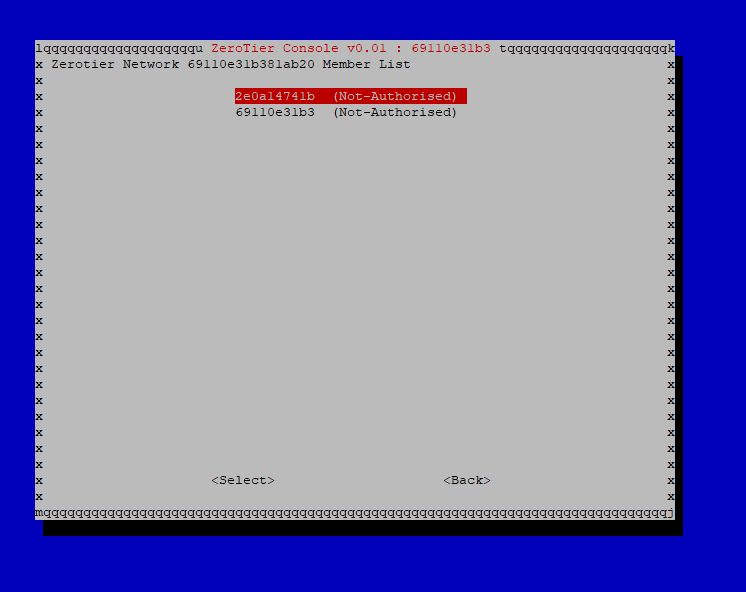
On each member that you wish to authorise, go into the member and select Auth Member, and the member will then be authorised.
Step 3 : Join the ZeroTier network
Joining the network on a client device is extremely easy. The hardest part about it is getting the Network ID to the client device! I’ll be joining the network on my Android Phone, but ZeroTier also have a knowledgebase article on how to join networks.
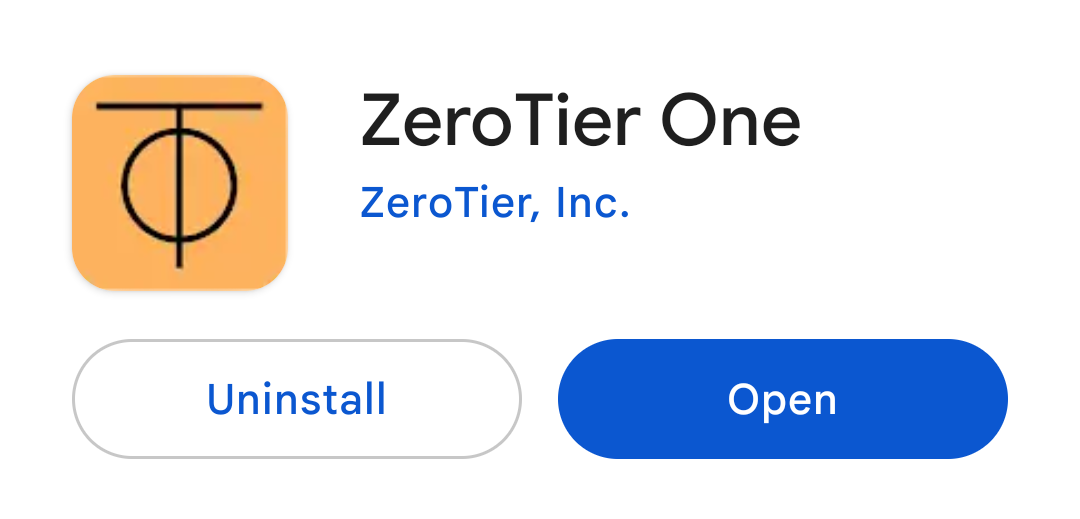
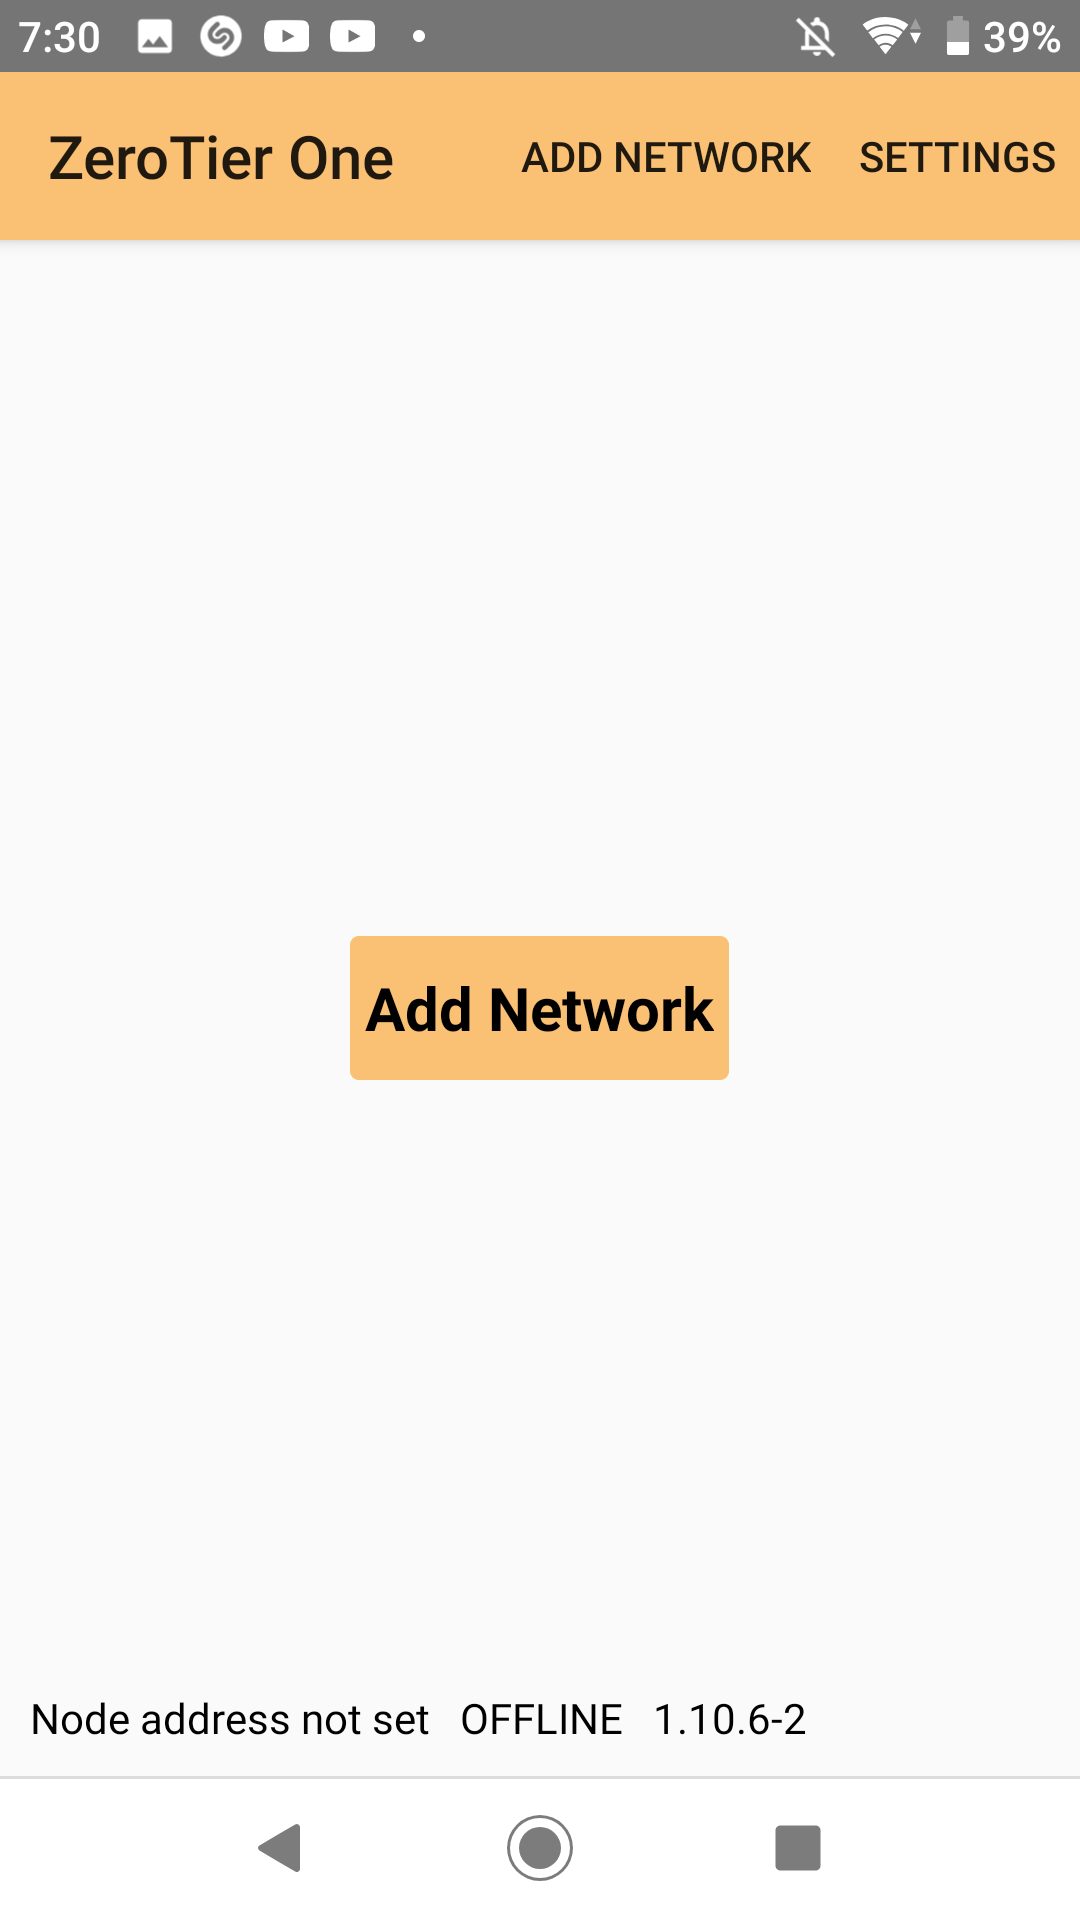
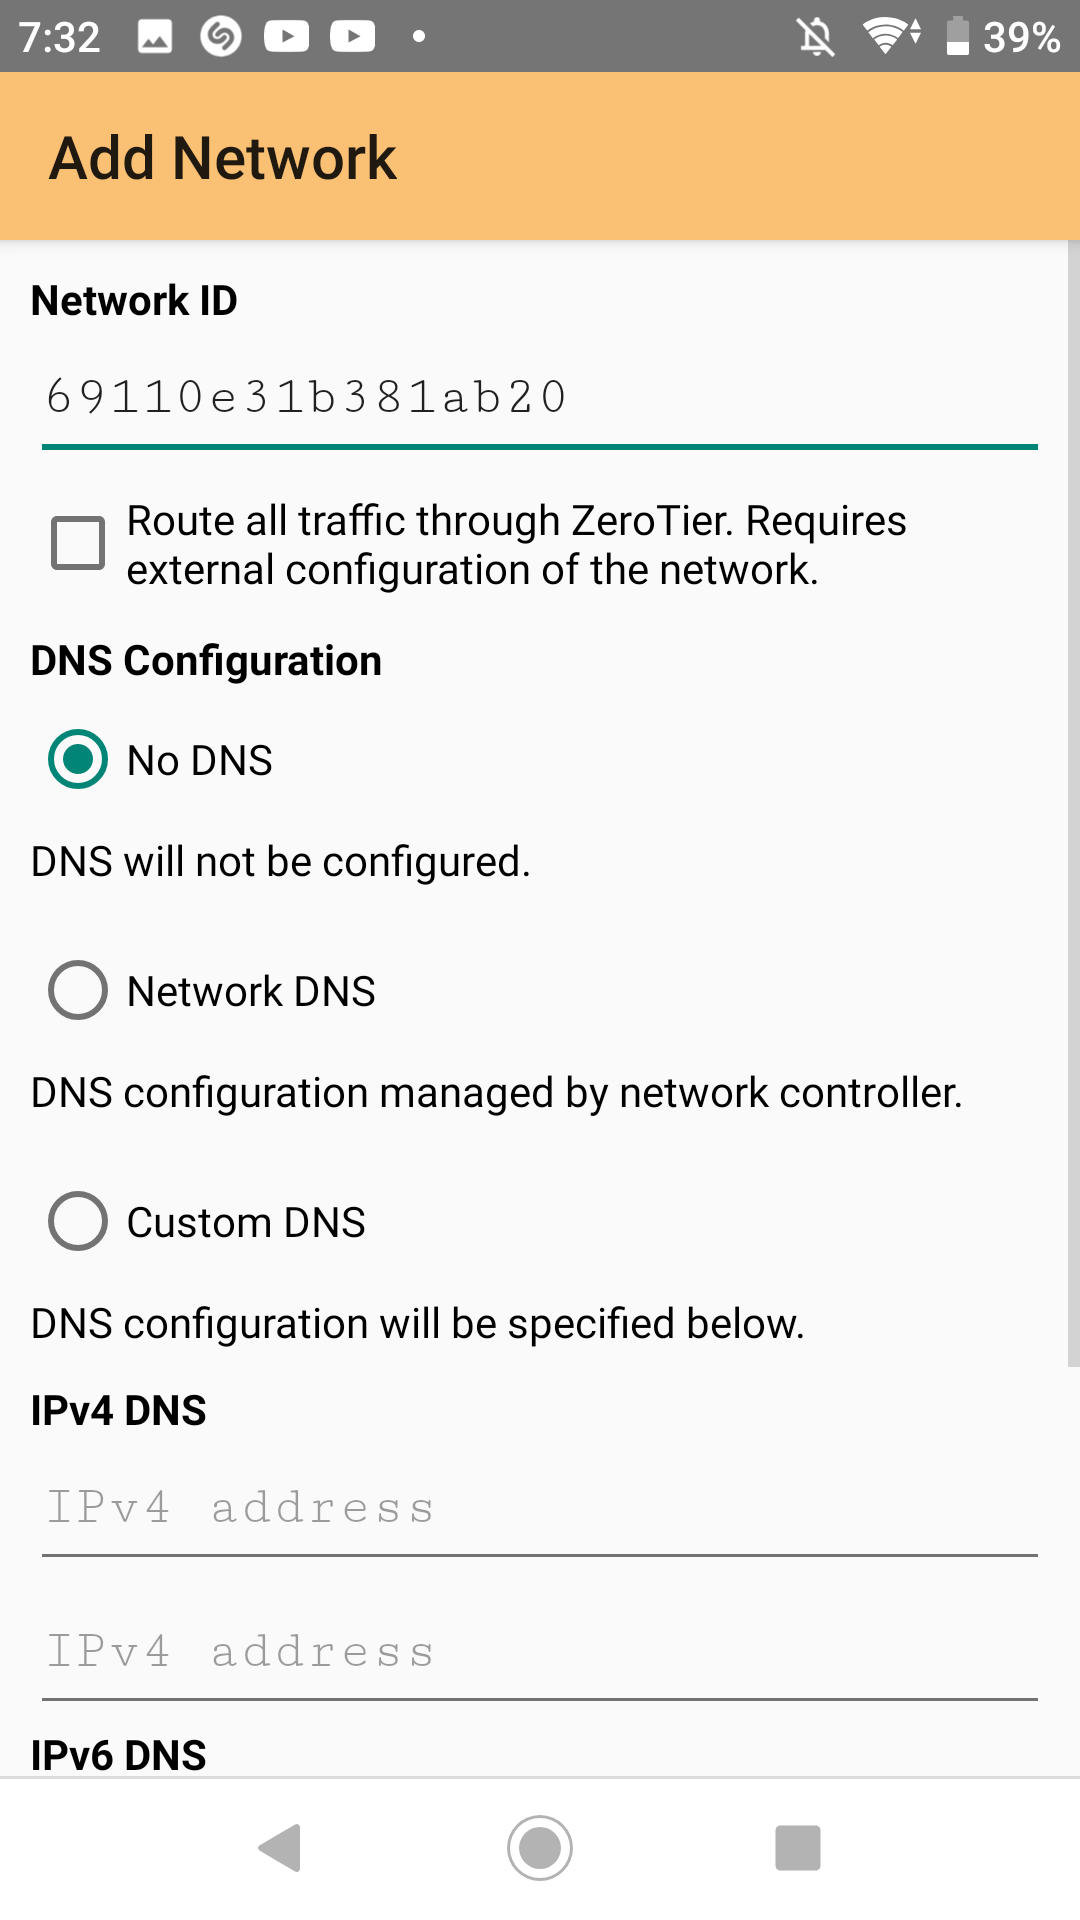
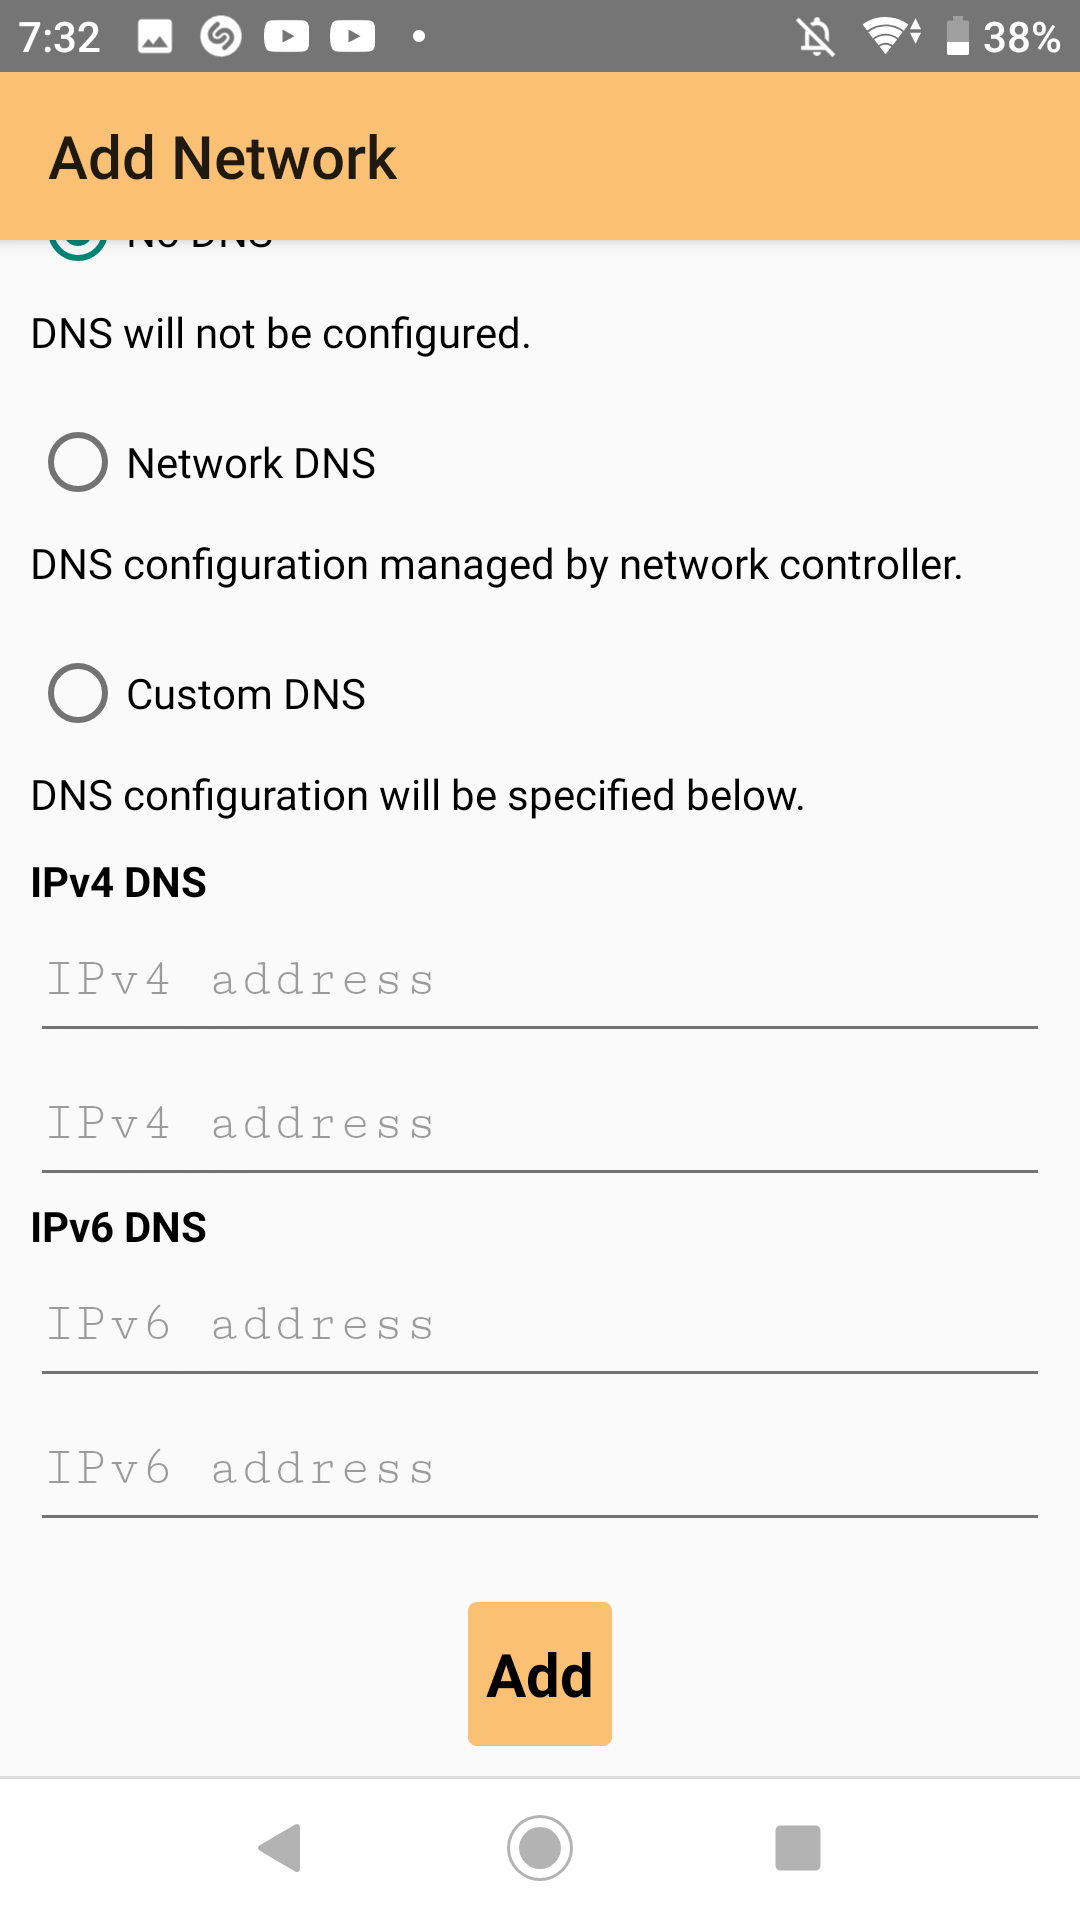
For Android devices, it’s as simple as downloading ZeroTier One from the Play Store, opening the app, hit “Add Network” and pop in the 16 digit Network ID. The Network ID is the same one that we joined earlier. For our purposes of just remote access to the server, we don’t need to select any special options when we’re joining the network.
Once the network is added, we just need to connect once for the member to show up in the member list in ZeroTier Console, then we can authorise our new device.
Once authorised, we can see the device’s IP addresses once they have connected in ZeroTier Console
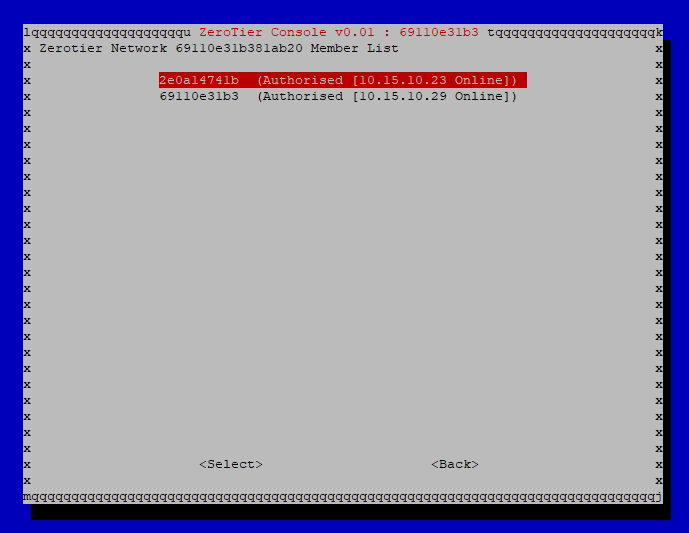
Now we can try and ping the other device to verify connectivity. We can tell which device is the server by checking against the node address in the titlebar. In this instance, my server is 69110e31b3 which means that my IP address is 10.15.10.29 and my phone is 10.15.10.23. A quick ping verifies connectivity
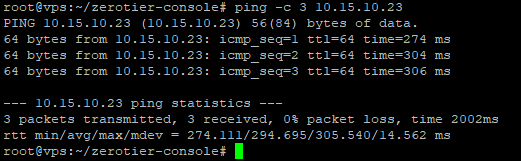
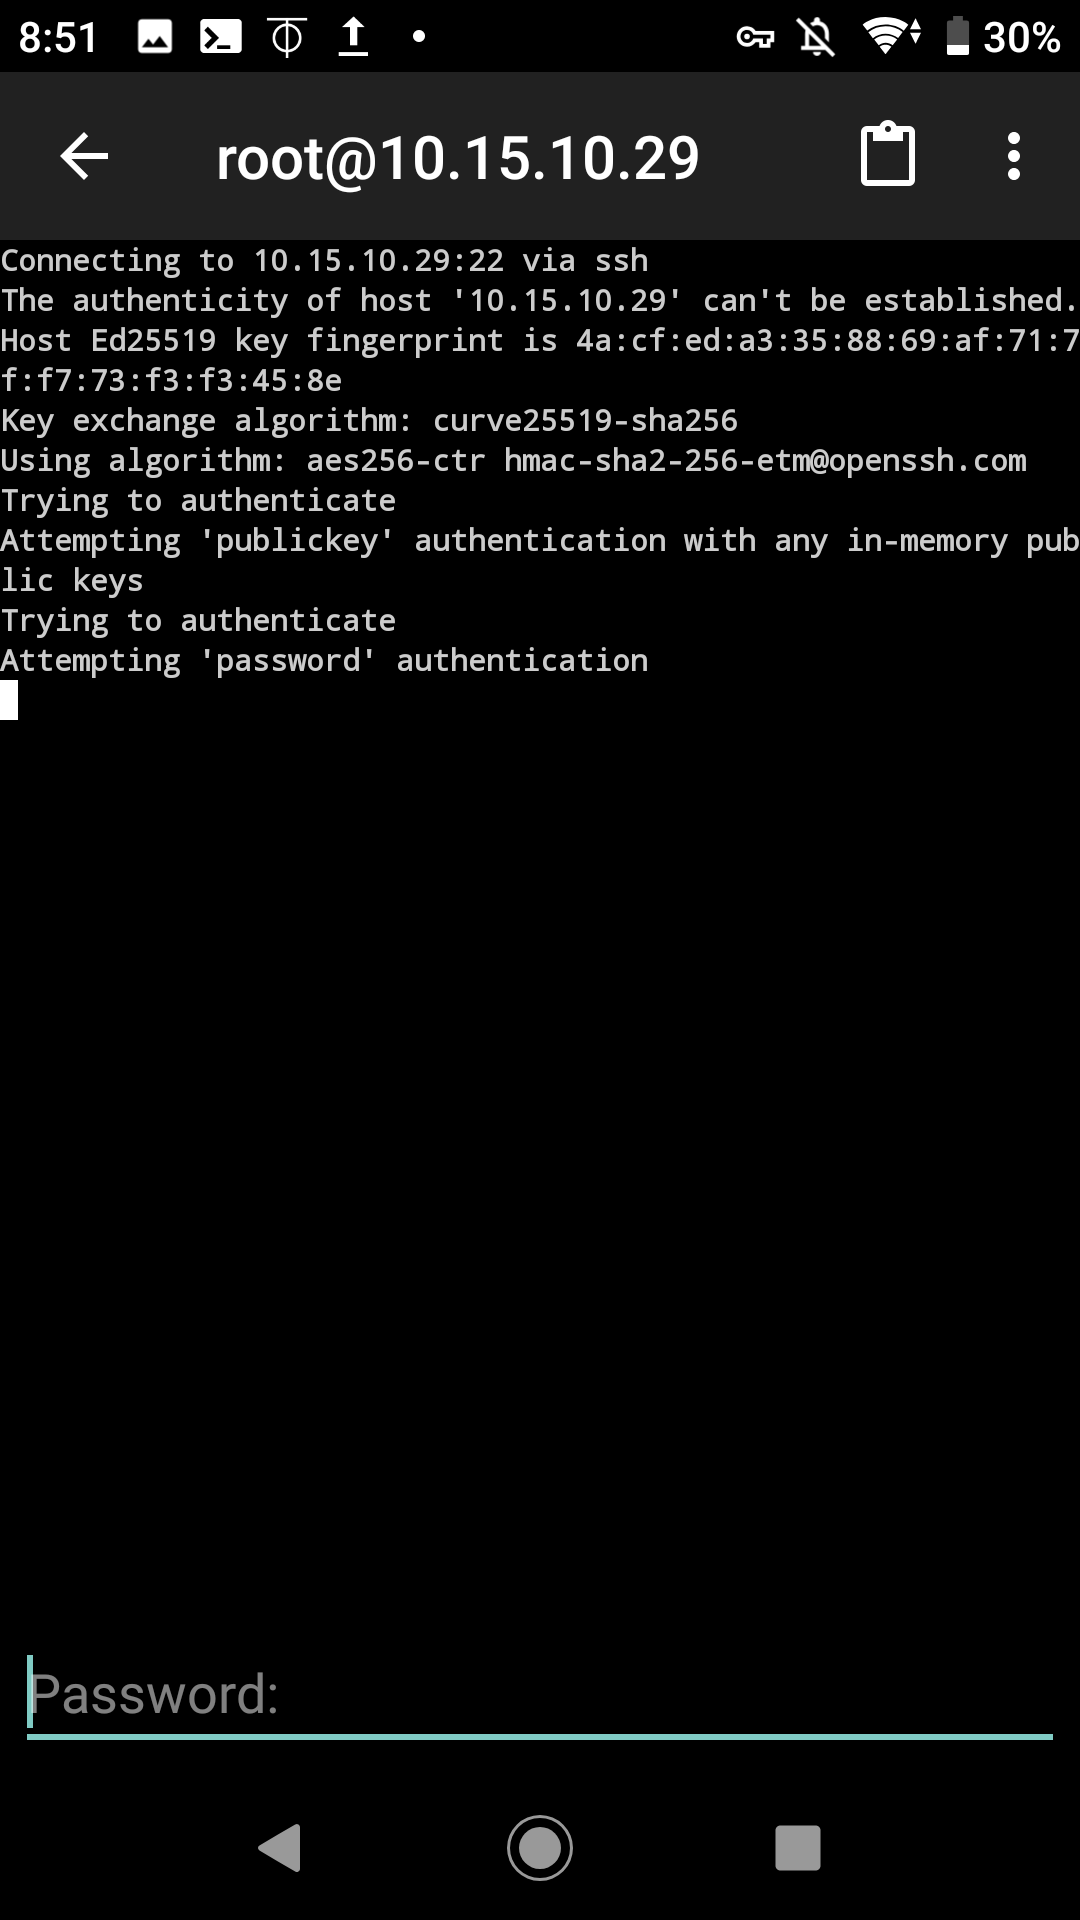
And I can SSH to my server from my phone!