About a month ago, I was contacted by the Kano team and was offered an awesome chance to try out their amazing Kano Computer kit.
I received it earlier this month but didn’t get to play with it until now, but as they say, patience is a virtue!
But without further ado, lets start having a look at the Kano Computer Kit.
Unboxing

Kano Uncovered
After my daughter saw the Kano kit and I explained what it was, she couldn’t wait to play with it! The Kano kit came in a colourful cardboard sleeved box with a depiction of the Kit on the cardboard box itself, and a quick overview on the back of the sleeve too.
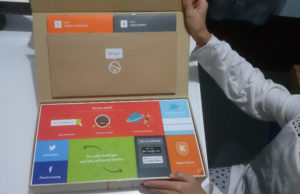
My daughter opening the Kano Computer Kit
The Kit’s lid has a pocket that contains the guides for the Kano kit, and the big card covers the rest of the kit.
The first guide – Book 1 / make a computer – gives you instructions on how to build the Kano Computer.
The second guide – Book 2 / code powers – gives you some basic information on coding.
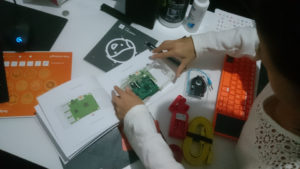
After removing the card and a piece of foam, the kit is uncovered. The kit contains a keyboard, 2 halves to a case, feet for the case, the Raspberry Pi 3, a WiFi Dongle, a USB power adapter, a Micro USB Cable, and a speaker top for the Pi case. Tucked under one of the halves is the SD card adapter with a MicroSD that contains Kano OS.
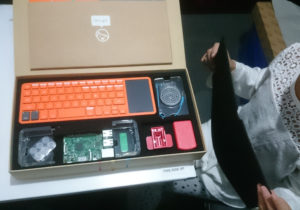
The contents of the Kano Kit
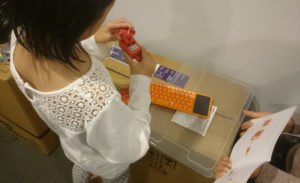
After unpacking the kit, we also found some sheets of stickers, and it turns out the back of the card is also a scoreboard for the badges that you can collect and the level you’re up to.
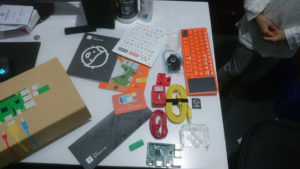
The kit all unpacked
Putting it Together
After unpacking the kit, my daughter started reading the instructions. The colourful components also make understanding the booklet easier as all the parts are colour coded. Assembly of the kit was so easy that my 9 year old did the majority of it herself!

My Daughter reading through Book 1
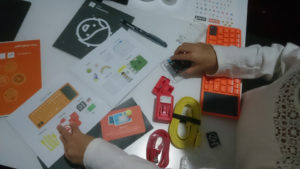
And then figuring out what everything is
The Raspberry Pi case that comes with the Kano Kit required some assembly as it’s in three pieces. The 2 sides, and then the speaker top. This design makes it easier to put together, however it somewhat limits access to the GPIO should you want to use it with the speaker in.
Putting the case together

The case in its assembled form. Just need to plug the speaker in!
Now we’re onto the colour coded bits and pieces. First up is the HDMI cable, which means we need to move to an area with a HDMI capable display.
Fancy Yellow Flat HDMI cable!
Trying to plug the HDMI cable in.
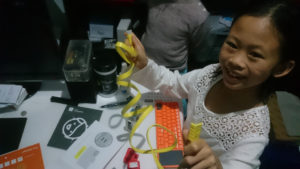
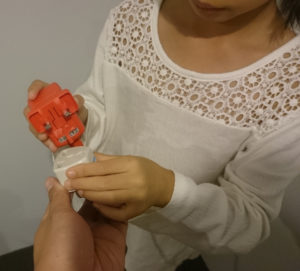
With the HDMI Cable in, the WiFi Dongle was next. The colour coding in the instructions helped out with my 6 year old daughter being able to retrieve the green thing from my desk. While she was there, she also got the orange keyboard for my 9 year old to set up.
I quite like that the keyboard is both a Wireless keyboard with a USB Dongle and a Bluetooth keyboard. This allows for more flexibility later on if you get a BT Dongle for your Raspberry Pi.
Plugging the WiFi Dongle In
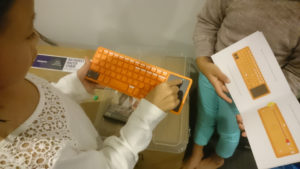
Setting the keyboard up. It’s flashing green!
With the Yellow, Orange, and Green bits out of the way, the red bit is next. The power adapter is a 5v 2A adapter, and came with a UK plug. It has a standard USB plug on the adapter, and the Micro USB cable is 1.5 meters long.
Putting the PSU together

My daughter found out that UK Plugs don’t fit Australian Sockets
Dad to the rescue with a travel adapter!
With the Kano Kit plugged in, some matrix like animations happens, and then the Kit starts prompting for some keyboard input. The prompts follow the colour coding theme, which again, helps my daughter type in the right command.
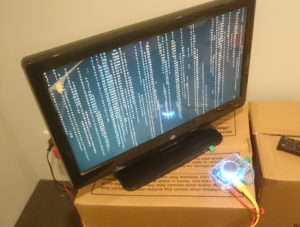
The kit is Alive! And it looks like the Matrix!
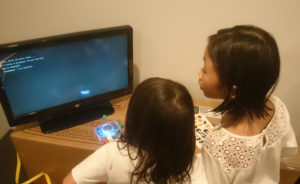
The Kit prompting for commands.
After following some more prompts and defusing a bomb, we are presented with a graphical interface that then guides us through how to use the Kano Kit. The instructions are easy enough to follow that anyone can do it!
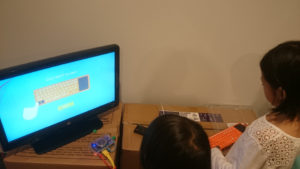
Following the instructions on the screen.
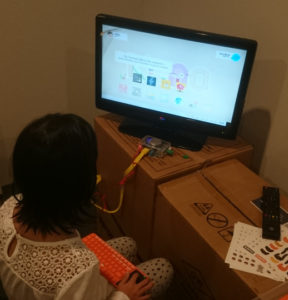
After running through the instructions, now exploring Kano OS
All in all, the setup only took about 45 minutes with a 9 year old doing most of the work. The Kano OS that is included is very user friendly with guides to do almost anything. I’ll do another post later on after I’ve had more of a chance to play with the actual OS. Stay tuned!
